opencv概述
opencv做為功能強大的計算機視覺開源框架,包含了500多個算法實現,而且還在不斷增加,其最新版本已經更新到3.2。其sdk支持android與java平臺開發,對于常見的圖像處理需求幾乎都可以滿足,理應成為廣大java與android程序員的首先的圖像處理框架。java中使用opencv的配置及其簡單,可以毫不客氣的說幾乎是零配置都可以。
一:配置
配置引入opencv相關jar包,首先要下載opencv的自解壓版本,下載地址:http://opencv.org/opencv-3-2.html
然后拉到網頁的最下方,下載windows自解壓開發包

下載好了雙擊解壓縮之后找到build路徑,顯示如下:

雙擊打開java文件夾,

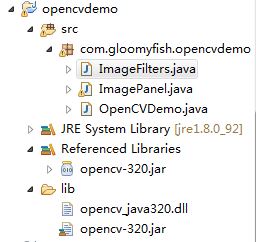
里面有一個jar直接導入到eclipse中的新建項目中去, 然后把x64里面的dll文件copy到eclipse中使用的java jdk bin和jre/bin目錄下面即可。環境就配置好啦,簡單吧!配置好的最終項目結構:

二:加載圖像與像素操作
讀入一張圖像 -, 一句話搞定
|
1
2
|
mat src = imgcodecs.imread(imagefilepath);if(src.empty()) return; |
將mat對象轉換為bufferedimage對象
|
1
2
3
4
5
6
7
8
9
10
11
12
13
14
15
16
17
18
19
20
21
22
23
24
25
26
27
28
29
30
31
32
|
public bufferedimage conver2image(mat mat) { int width = mat.cols(); int height = mat.rows(); int dims = mat.channels(); int[] pixels = new int[width*height]; byte[] rgbdata = new byte[width*height*dims]; mat.get(0, 0, rgbdata); bufferedimage image = new bufferedimage(width, height, bufferedimage.type_int_argb); int index = 0; int r=0, g=0, b=0; for(int row=0; row<height; row++) { for(int col=0; col<width; col++) { if(dims == 3) { index = row*width*dims + col*dims; b = rgbdata[index]&0xff; g = rgbdata[index+1]&0xff; r = rgbdata[index+2]&0xff; pixels[row*width+col] = ((255&0xff)<<24) | ((r&0xff)<<16) | ((g&0xff)<<8) | b&0xff; } if(dims == 1) { index = row*width + col; b = rgbdata[index]&0xff; pixels[row*width+col] = ((255&0xff)<<24) | ((b&0xff)<<16) | ((b&0xff)<<8) | b&0xff; } } } setrgb( image, 0, 0, width, height, pixels); return image;} |
將bufferedimage對象轉換為mat對象
|
1
2
3
4
5
6
7
8
9
10
11
12
13
14
15
16
17
18
19
20
21
22
23
24
25
26
27
|
public mat convert2mat(bufferedimage image) { int width = image.getwidth(); int height = image.getheight(); mat src = new mat(new size(width, height), cvtype.cv_8uc3); int[] pixels = new int[width*height]; byte[] rgbdata = new byte[width*height*3]; getrgb( image, 0, 0, width, height, pixels ); int index = 0, c=0; int r=0, g=0, b=0; for(int row=0; row<height; row++) { for(int col=0; col<width; col++) { index = row*width + col; c = pixels[index]; r = (c&0xff0000)>>16; g = (c&0xff00)>>8; b = c&0xff; index = row*width*3 + col*3; rgbdata[index] = (byte)b; rgbdata[index+1] = (byte)g; rgbdata[index+2] = (byte)r; } } src.put(0, 0, rgbdata); return src;} |
特別要說明一下,bufferedimage與mat的rgb通道順序是不一樣,正好相反,在mat對象中三通道的順序為bgr而在bufferedimage中為rgb。
從mat中讀取全部像素(其中image為mat類型數據)
|
1
2
3
4
5
|
int width = image.cols();int height = image.rows();int dims = image.channels();byte[] data = new byte[width*height*dims];image.get(0, 0, data); |
遍歷像素操作與保存改變
|
1
2
3
4
5
6
7
8
9
10
11
12
13
14
15
16
17
18
19
|
int index = 0;int r=0, g=0, b=0;for(int row=0; row<height; row++) { for(int col=0; col<width*dims; col+=dims) { index = row*width*dims + col; b = data[index]&0xff; g = data[index+1]&0xff; r = data[index+2]&0xff; r = 255 - r; g = 255 - g; b = 255 - b; data[index] = (byte)b; data[index+1] = (byte)g; data[index+2] = (byte)r; }}image.put(0, 0, data); |
保存mat對象為圖像文件 - 一句話可以搞定
|
1
|
imgcodecs.imwrite(filepath, src); |
opencv代碼運行與測試
調節明暗程度 - 亮度降低

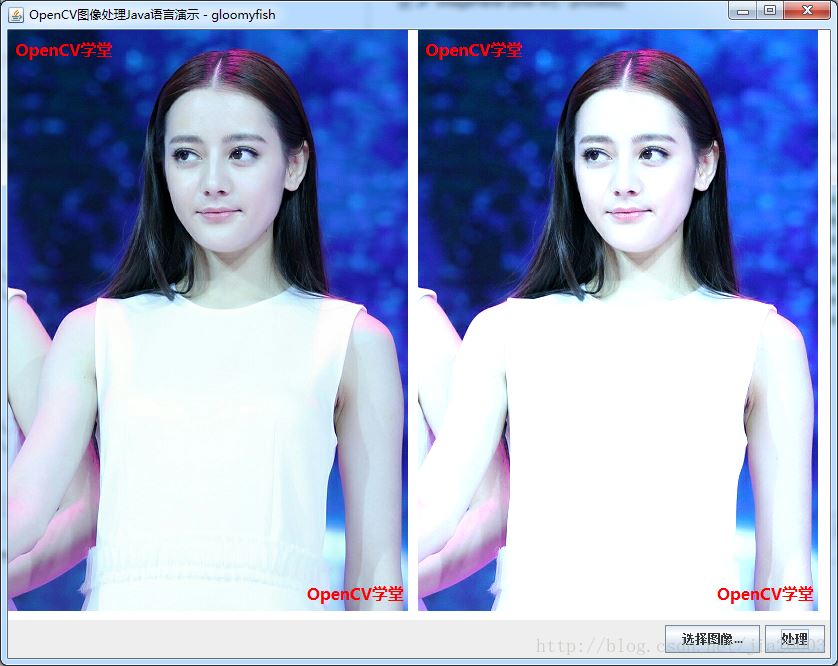
調節明暗程度 - 亮度提升

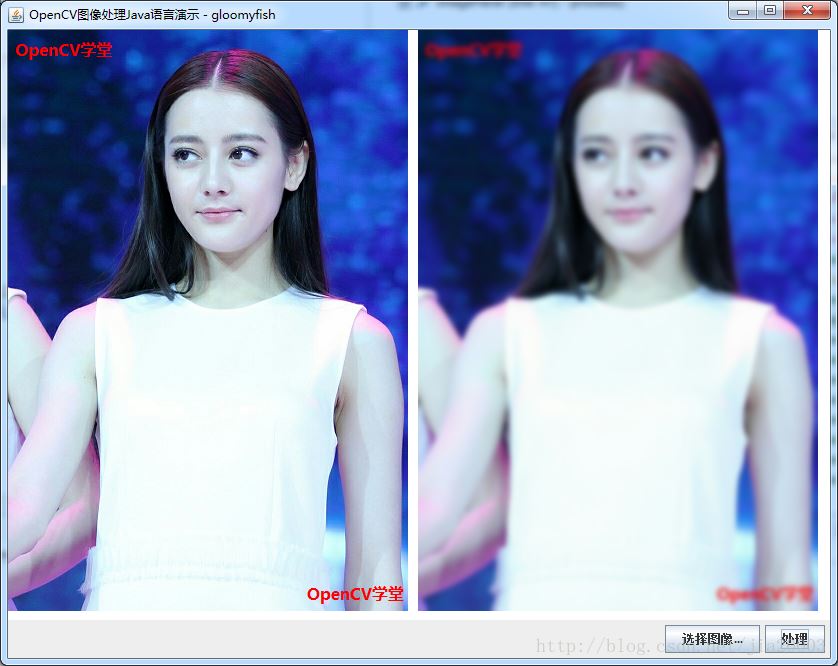
高斯模糊

銳化

梯度

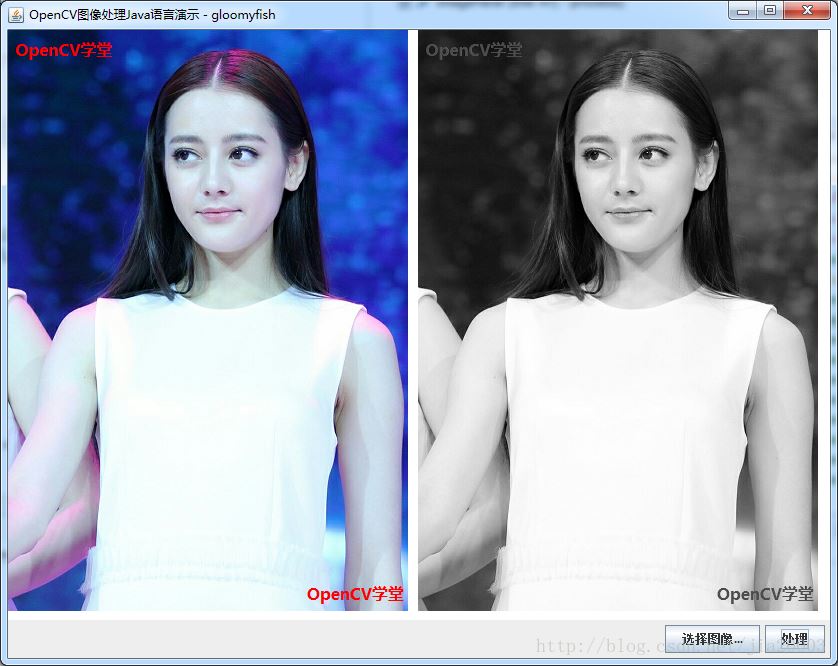
灰度化

上述效果完整java代碼如下:
|
1
2
3
4
5
6
7
8
9
10
11
12
13
14
15
16
17
18
19
20
21
22
23
24
25
26
27
28
29
30
31
32
33
34
35
36
37
38
39
40
41
42
43
44
45
46
47
48
49
50
51
52
53
54
55
56
57
58
59
60
61
62
63
64
65
66
67
68
69
70
71
72
73
74
75
76
77
78
79
80
81
82
83
84
85
86
87
88
89
90
91
92
93
94
95
96
97
98
99
100
|
package com.gloomyfish.opencvdemo;import org.opencv.core.core;import org.opencv.core.cvtype;import org.opencv.core.mat;import org.opencv.core.size;import org.opencv.imgproc.imgproc;public class imagefilters { /** - 反色處理 - */ public mat inverse(mat image) { int width = image.cols(); int height = image.rows(); int dims = image.channels(); byte[] data = new byte[width*height*dims]; image.get(0, 0, data); int index = 0; int r=0, g=0, b=0; for(int row=0; row<height; row++) { for(int col=0; col<width*dims; col+=dims) { index = row*width*dims + col; b = data[index]&0xff; g = data[index+1]&0xff; r = data[index+2]&0xff; r = 255 - r; g = 255 - g; b = 255 - b; data[index] = (byte)b; data[index+1] = (byte)g; data[index+2] = (byte)r; } } image.put(0, 0, data); return image; } public mat brightness(mat image) { // 亮度提升 mat dst = new mat(); mat black = mat.zeros(image.size(), image.type()); core.addweighted(image, 1.2, black, 0.5, 0, dst); return dst; } public mat darkness(mat image) { // 亮度降低 mat dst = new mat(); mat black = mat.zeros(image.size(), image.type()); core.addweighted(image, 0.5, black, 0.5, 0, dst); return dst; } public mat gray(mat image) { // 灰度 mat gray = new mat(); imgproc.cvtcolor(image, gray, imgproc.color_bgr2gray); return gray; } public mat sharpen(mat image) { // 銳化 mat dst = new mat(); float[] sharper = new float[]{0, -1, 0, -1, 5, -1, 0, -1, 0}; mat operator = new mat(3, 3, cvtype.cv_32fc1); operator.put(0, 0, sharper); imgproc.filter2d(image, dst, -1, operator); return dst; } public mat blur(mat image) { // 高斯模糊 mat dst = new mat(); imgproc.gaussianblur(image, dst, new size(15, 15), 0); return dst; } public mat gradient(mat image) { // 梯度 mat grad_x = new mat(); mat grad_y = new mat(); mat abs_grad_x = new mat(); mat abs_grad_y = new mat(); imgproc.sobel(image, grad_x, cvtype.cv_32f, 1, 0); imgproc.sobel(image, grad_y, cvtype.cv_32f, 0, 1); core.convertscaleabs(grad_x, abs_grad_x); core.convertscaleabs(grad_y, abs_grad_y); grad_x.release(); grad_y.release(); mat gradxy = new mat(); core.addweighted(abs_grad_x, 0.5, abs_grad_y, 0.5, 10, gradxy); return gradxy; }} |
可以說簡單到哭,此外opencv for java支持各種的圖像處理包括形態學操作,二值圖像分析、圖像特征檢測與識別、模板匹配、直方圖相關功能等等。常見的機器學習算法與圖像分析方法。可以說是功能最強大的圖像處理sdk與開發平臺之一,本人繼續發掘分享!
特別注意
在調用之前,一定要加上這句話
|
1
|
system.loadlibrary(core.native_library_name); |
目的是加載opencv api相關的dll支持,沒有它是不會正確運行的。以上代碼與功能實現是基于jdk8 64位與opencv 3.2版本。
以上就是本文的全部內容,希望對大家的學習有所幫助,也希望大家多多支持服務器之家。
原文鏈接:https://blog.csdn.net/jia20003/article/details/68944486


