1.添加Swagger2依賴
|
1
2
3
4
5
6
7
8
9
10
|
<dependency> <groupId>io.springfox</groupId> <artifactId>springfox-swagger2</artifactId> <version>2.2.2</version></dependency><dependency> <groupId>io.springfox</groupId> <artifactId>springfox-swagger-ui</artifactId> <version>2.2.2</version></dependency> |
2配置類
|
1
2
3
4
5
6
7
8
9
10
11
12
13
14
15
16
17
18
19
20
21
|
@Configuration@EnableSwagger2public class Swagger2 { @Bean public Docket createRestApi() { return new Docket(DocumentationType.SWAGGER_2) .apiInfo(apiInfo()) .select() .apis(RequestHandlerSelectors.basePackage("com.bs.swaggertest.controller")) .paths(PathSelectors.any()) .build(); } private ApiInfo apiInfo() { return new ApiInfoBuilder() .title("微信項目接口對接文檔") .description("測試環境接口調試") .contact("陶海軍") .version("1.0") .build(); }} |
3.添加文檔內容
|
1
2
3
4
5
6
7
8
9
10
|
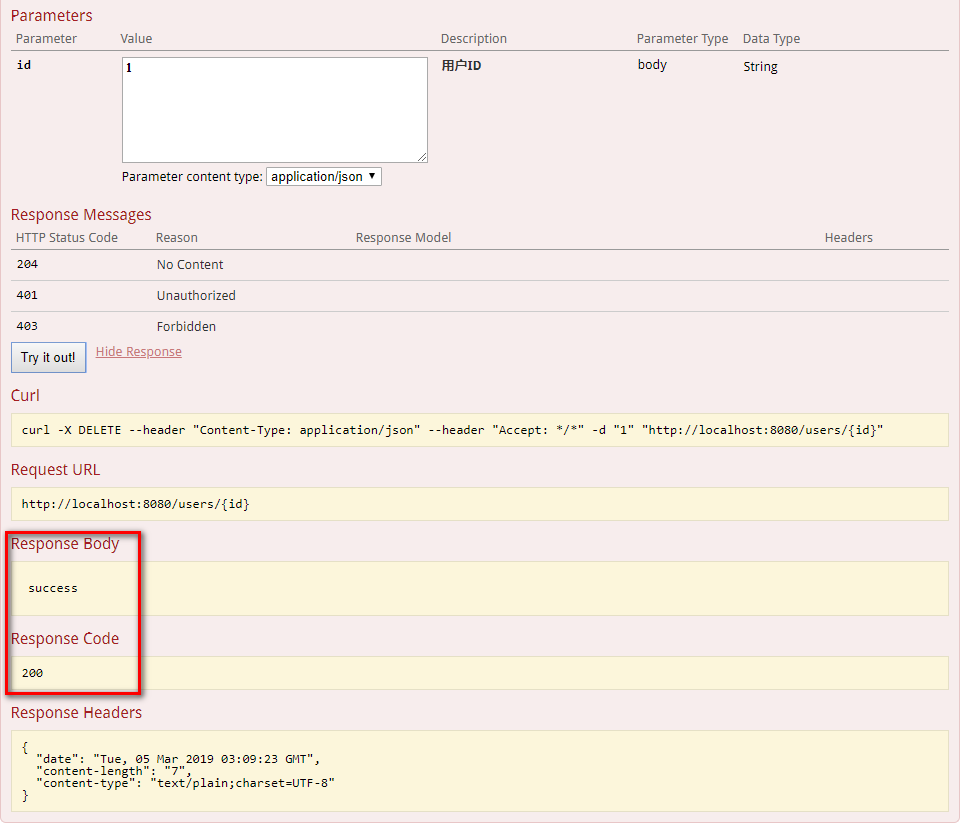
@RestController@RequestMapping(value="/users")public class UserController { @ApiOperation(value="刪除用戶", notes="根據url的id來指定刪除對象") @ApiImplicitParam(name = "id", value = "用戶ID", required = true, dataType = "String") @RequestMapping(value="/{id}", method=RequestMethod.DELETE) public String deleteUser(@PathVariable String id) { return "success"; }} |
4.測試
http://localhost:8080/swagger-ui.html


以上就是本文的全部內容,希望對大家的學習有所幫助,也希望大家多多支持服務器之家。
原文鏈接:https://www.cnblogs.com/taohaijun/p/10481372.html


