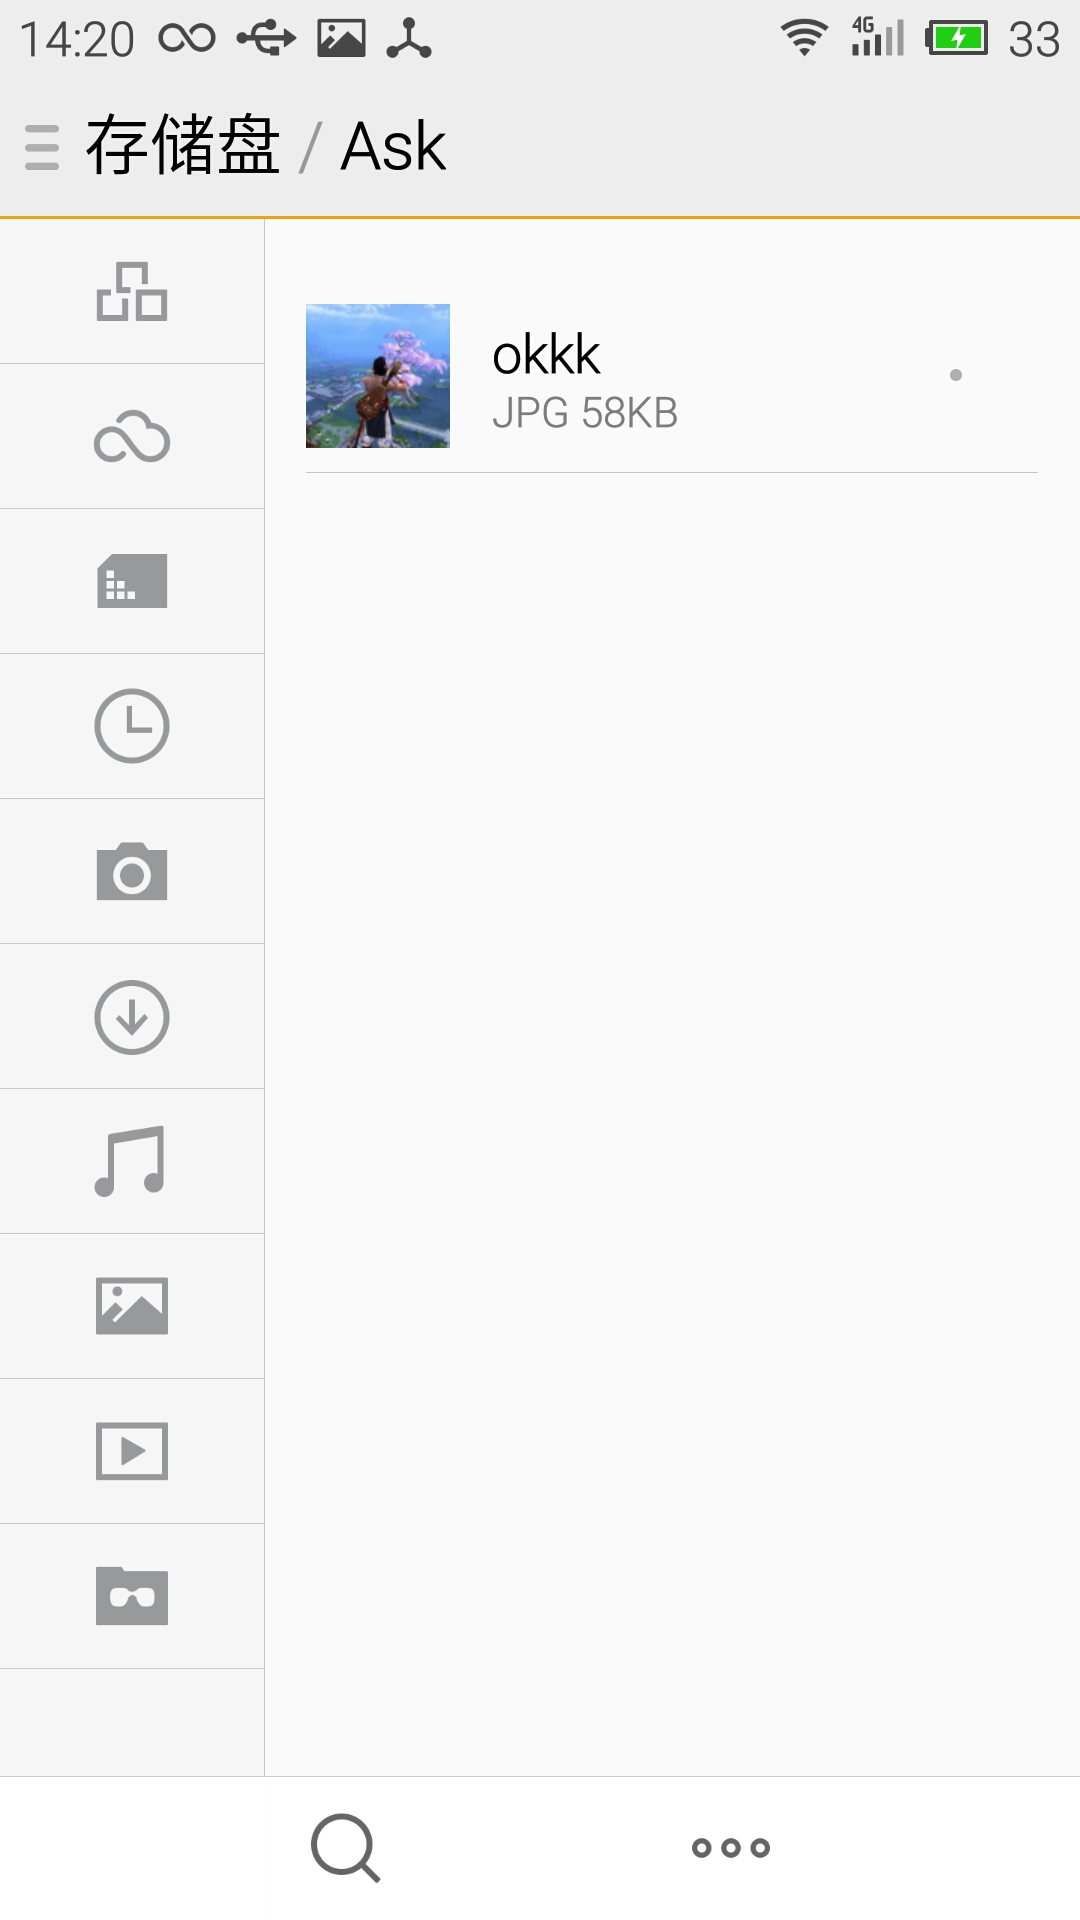
玩qq或者是微信的盆友都知道,這些聊天工具里都要設置頭像,一般情況下大家的解決辦法是從本地圖庫選擇圖片或是從相機拍照,然后根據自己的喜愛截取圖片。上述過程已經實現好了,最后一步我加上了把截取好的圖片在保存到本地的操作,來保存頭像。為了大家需要,下面服務器之家小編把完整的代碼貼出來供大家參考。
先給大家展示效果圖:


代碼部分:
布局代碼(其實就是兩個按鈕和一個imageview來顯示頭像)
|
1
2
3
4
5
6
7
8
9
10
11
12
13
14
15
16
17
18
19
20
|
<linearlayout xmlns:android="http://schemas.android.com/apk/res/android"android:layout_width="match_parent"android:layout_height="match_parent"android:orientation="vertical" ><imageviewandroid:id="@+id/imageview"android:layout_width="wrap_content"android:layout_height="wrap_content"/><buttonandroid:id="@+id/buttonlocal"android:layout_width="wrap_content"android:layout_height="wrap_content"android:text="本地相冊選取頭像" /><buttonandroid:id="@+id/buttoncamera"android:layout_width="wrap_content"android:layout_height="wrap_content"android:text="手機拍照選取頭像" /></linearlayout> |
正文代碼:
|
1
2
3
4
5
6
7
8
9
10
11
12
13
14
15
16
17
18
19
20
21
22
23
24
25
26
27
28
29
30
31
32
33
34
35
36
37
38
39
40
41
42
43
44
45
46
47
48
49
50
51
52
53
54
55
56
57
58
59
60
61
62
63
64
65
66
67
68
69
70
71
72
73
74
75
76
77
78
79
80
81
82
83
84
85
86
87
88
89
90
91
92
93
94
95
96
97
98
99
100
101
102
103
104
105
106
107
108
109
110
111
112
113
114
115
116
117
118
119
120
121
122
123
124
125
126
127
128
129
130
131
132
133
134
135
136
137
138
139
140
141
142
|
public class mainactivity extends appcompatactivity {/* 頭像文件 */private static final string image_file_name = "temp_head_image.jpg";/* 請求識別碼 */private static final int code_gallery_request = 0xa0;//本地private static final int code_camera_request = 0xa1;//拍照private static final int code_result_request = 0xa2;//最終裁剪后的結果// 裁剪后圖片的寬(x)和高(y),480 x 480的正方形。private static int output_x = 600;private static int output_y = 600;private imageview headimage = null;@overrideprotected void oncreate(bundle savedinstancestate) {super.oncreate(savedinstancestate);setcontentview(r.layout.activity_main);headimage = (imageview) findviewbyid(r.id.imageview);button buttonlocal = (button) findviewbyid(r.id.buttonlocal);buttonlocal.setonclicklistener(new view.onclicklistener() {@overridepublic void onclick(view v) {choseheadimagefromgallery();}});button buttoncamera = (button) findviewbyid(r.id.buttoncamera);buttoncamera.setonclicklistener(new view.onclicklistener() {@overridepublic void onclick(view v) {choseheadimagefromcameracapture();}});}// 從本地相冊選取圖片作為頭像private void choseheadimagefromgallery() {intent intentfromgallery = new intent();// 設置文件類型intentfromgallery.settype("image/*");//選擇圖片intentfromgallery.setaction(intent.action_get_content);//如果你想在activity中得到新打開activity關閉后返回的數據,//你需要使用系統提供的startactivityforresult(intent intent,int requestcode)方法打開新的activitystartactivityforresult(intentfromgallery, code_gallery_request);}// 啟動手機相機拍攝照片作為頭像private void choseheadimagefromcameracapture() {intent intentfromcapture = new intent(mediastore.action_image_capture);// 判斷存儲卡是否可用,存儲照片文件if (hassdcard()) {intentfromcapture.putextra(mediastore.extra_output, uri.fromfile(new file(environment.getexternalstoragedirectory(), image_file_name)));}startactivityforresult(intentfromcapture, code_camera_request);}@overrideprotected void onactivityresult(int requestcode, int resultcode,intent intent) {// 用戶沒有進行有效的設置操作,返回if (resultcode == result_canceled) {//取消toast.maketext(getapplication(), "取消", toast.length_long).show();return;}switch (requestcode) {case code_gallery_request://如果是來自本地的croprawphoto(intent.getdata());//直接裁剪圖片break;case code_camera_request:if (hassdcard()) {file tempfile = new file(environment.getexternalstoragedirectory(),image_file_name);croprawphoto(uri.fromfile(tempfile));} else {toast.maketext(getapplication(), "沒有sdcard!", toast.length_long).show();}break;case code_result_request:if (intent != null) {setimagetoheadview(intent);//設置圖片框}break;}super.onactivityresult(requestcode, resultcode, intent);}/*** 裁剪原始的圖片*/public void croprawphoto(uri uri) {intent intent = new intent("com.android.camera.action.crop");intent.setdataandtype(uri, "image/*");//把裁剪的數據填入里面// 設置裁剪intent.putextra("crop", "true");// aspectx , aspecty :寬高的比例intent.putextra("aspectx", 1);intent.putextra("aspecty", 1);// outputx , outputy : 裁剪圖片寬高intent.putextra("outputx", output_x);intent.putextra("outputy", output_y);intent.putextra("return-data", true);startactivityforresult(intent, code_result_request);}/*** 提取保存裁剪之后的圖片數據,并設置頭像部分的view*/private void setimagetoheadview(intent intent) {bundle extras = intent.getextras();if (extras != null) {bitmap photo = extras.getparcelable("data");headimage.setimagebitmap(photo);<br> //新建文件夾 先選好路徑 再調用mkdir函數 現在是根目錄下面的ask文件夾file nf = new file(environment.getexternalstoragedirectory()+"/ask");nf.mkdir();<br> //在根目錄下面的ask文件夾下 創建okkk.jpg文件file f = new file(environment.getexternalstoragedirectory()+"/ask", "okkk.jpg");fileoutputstream out = null;try {<br><br> //打開輸出流 將圖片數據填入文件中out = new fileoutputstream(f);photo.compress(bitmap.compressformat.png, 90, out);try {out.flush();out.close();} catch (ioexception e) {e.printstacktrace();}} catch (filenotfoundexception e) {e.printstacktrace();}}}/*** 檢查設備是否存在sdcard的工具方法*/public static boolean hassdcard() {string state = environment.getexternalstoragestate();if (state.equals(environment.media_mounted)) {// 有存儲的sdcardreturn true;} else {return false;}}} |
因為涉及到文件讀寫,要加入兩個權限!!!
|
1
2
|
<uses-permission android:name="android.permission.write_external_storage"/><uses-permission android:name="android.permission.mount_unmount_filesystems"/> |
關于本文給大家介紹的android實現從本地圖庫/相機拍照后裁剪圖片并設置頭像的相關知識就給大家介紹到這里,希望對大家有所幫助!


